Arduino Voltage Sensor Module:
Using a voltage sensor module with Arduino is a straightforward process. Voltage sensors are commonly used to measure the voltage of a power source or a specific circuit. Here are the general steps to connect and use a voltage sensor module with Arduino.
Materials Needed:
Jumper wires
Power source (battery or power supply)
Understand Your Voltage Sensor Module:
The Voltage Detection Sensor Module is a handy device that makes it easy to measure voltages higher than what your microcontroller can handle. It does this by using a potential divider to reduce the input voltage by a factor of 5. This means, with a microcontroller having a 0V — 5V Analog input range, you can effectively measure voltages up to 25V
Connection:
- Connect the VCC pin of the voltage sensor module to the positive terminal of the voltage to be measured (0-25V).
- Connect the GND pin of the voltage sensor module to the negative terminal of the voltage to be measured.
- Connect the S (Signal) pin of the voltage sensor module to the analog input pin on the Arduino (e.g., A0).
- Connect the – (minus) pin of the voltage sensor module to the GND pin on the Arduino.
Write Arduino Code:
Open the Arduino IDE on your computer.
Write a simple code to read the analog voltage from the sensor.
Upload the Code and Monitor the output:
Select the correct board and port in the Arduino IDE.
Upload the code to your Arduino.
The sensor will continuously read the voltage and display it on the Serial Monitor
Proteus Simulation
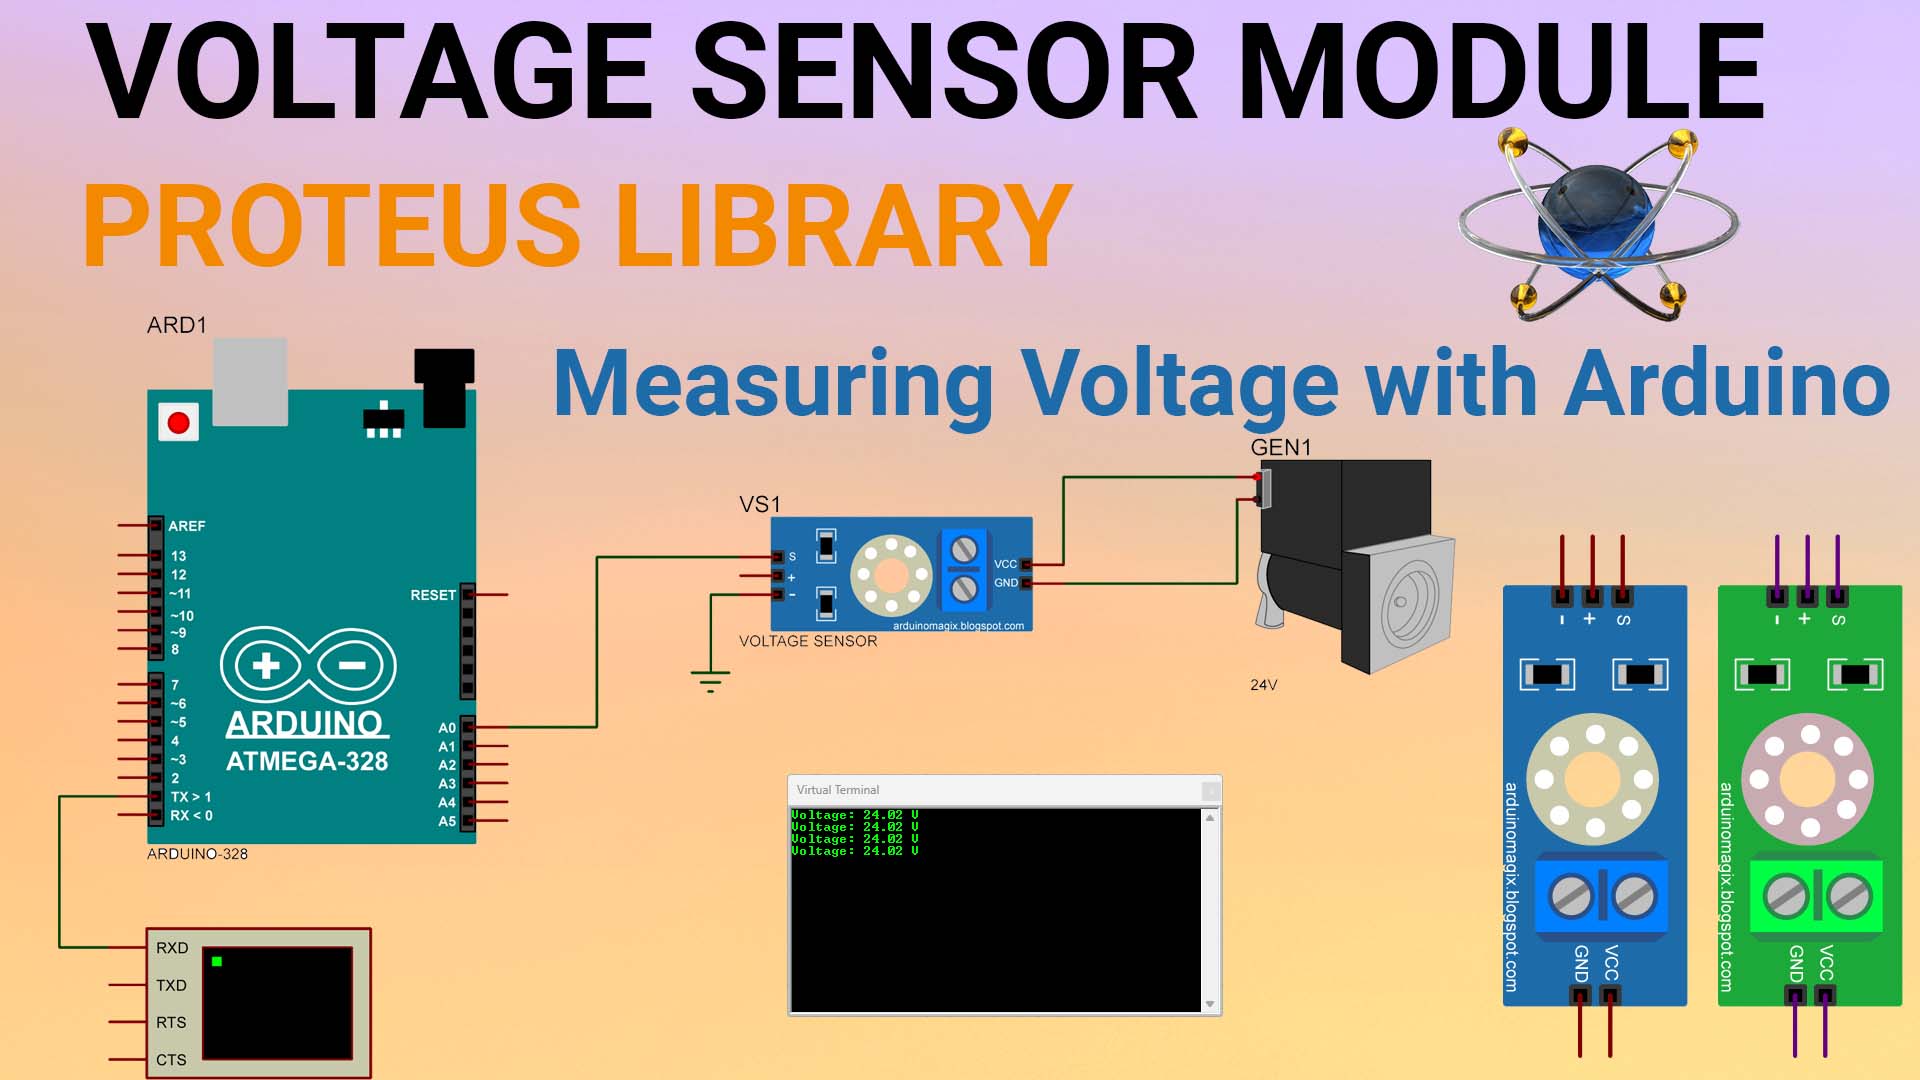
To smoothly bring the Voltage Sensor into your Proteus simulations, just follow these easy steps to download and install the library. The download link is right below for a quick start. Integrating the Voltage Sensor is a breeze, and you only need a few clicks to include it in your circuit, allowing you to observe how it behaves alongside other components during your simulation.
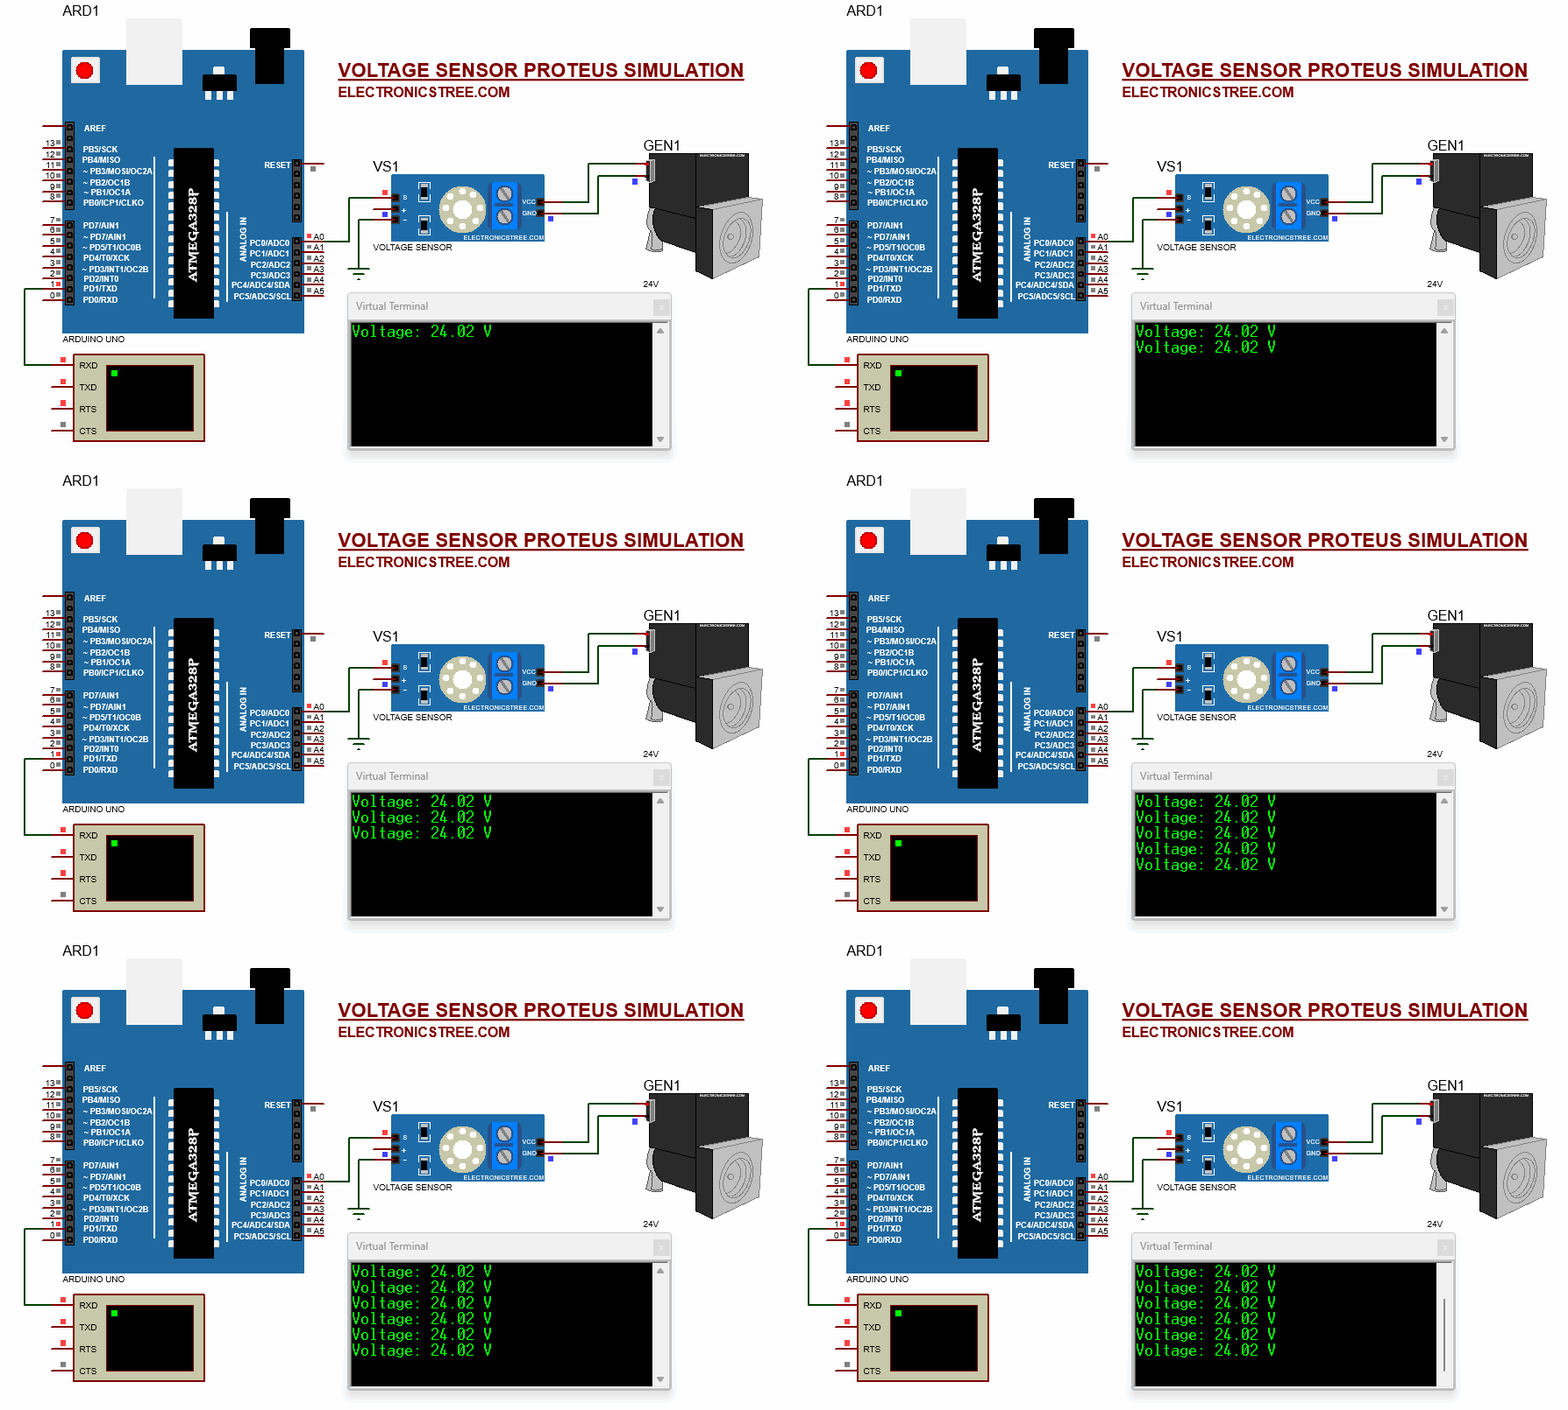
How to Install Arduino Voltage Sensor Module in Proteus
Extract NodeMCU Library:
- Open the .zip file containing the model library.
- Extract the contents, typically finding folders like LIB and MODELS.
Locate Proteus Library Folder:
- Identify your Proteus library folder on your computer. The default location may vary based on your Proteus software version.
- For Proteus 8 Professional, it’s often found at:
C:\Program Files (x86)\Labcenter Electronics\Proteus 8 Professional\DATA\LIBRARY
Copy LIB Files:
- Open the LIB folder extracted from the model library.
- Copy the files within the LIB folder.
- Paste these files into your Proteus Library Folder.
Locate Proteus Model Folder:
- Find the Proteus Model folder, usually located alongside the Library Folder.
- For Proteus 8 Professional, the path might be:
C:\Program Files (x86)\Labcenter Electronics\Proteus 8 Professional\DATA\MODELS
Copy MODELS Files:
- Open the MODELS folder extracted from the model library.
- Copy the files within the MODELS folder.
- Paste these files into your Proteus Model Folder.
Alternative DATA Folder Location:
For certain versions of Proteus, you might locate the DATA folder here:
C:\ProgramData\Labcenter Electronics\Proteus 8 Professional\DATA
Keep in mind that sometimes this folder (ProgramData) is hidden, so you may need to unhide it to access the specified location
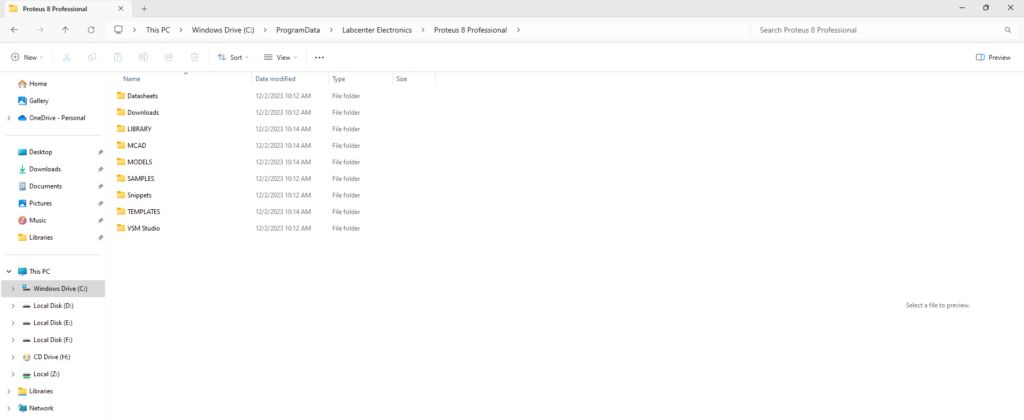
Download Library
Simply click on the button to download the library. You can refer to this post for instructions on how to install the library in Proteus 8. How to Download and install Library in Proteus (electronicstree.com)
Please wait 10 seconds: after that, your download will begin ⏳
ZIP Password : electronicstree.com
If you have any requests for Arduino Module Libraries in Proteus, please leave a comment or message us using the contact form.
The password of the ZIP file pls to extract it ?
password for zip file
The password for the library zip file is: electronicstree.com
no Arduino code showing. i’ve seen the code on this page but now…. nowhere.
please add code again on your website.
I have fixed the issue.👍
Download doesn’t begin
please can I get zmpt101b voltage sensor library for proteus (it has the capacity to measure 80V-250V AC)