Before you grab your soldering iron, simulation tools can be your best friend when it comes to those cool “stepping” motors (Stepper Motor – the kind that move in precise steps). Having a good simulation is important. That’s where the ULN2003 driver comes in. Before you grab your soldering iron, simulation tools can be your best friend. They allow you to test your ideas in a virtual world, saving you time and trouble
Well, good news! 🎉 This blog post cracks open the ULN2003 mystery and introduces a brand-new Proteus library that makes simulating these motors a breeze.
Stepper Motor: Into the Basics
A stepper motor is a type of brushless DC electric motor that divides a full rotation into a number of equal steps. Each step is typically defined by a fixed angular displacement, and the motor moves from one step to the next in a controlled manner. Stepper motors are widely used in various applications, such as robotics, 3D printers, CNC machines, and other precision control systems.
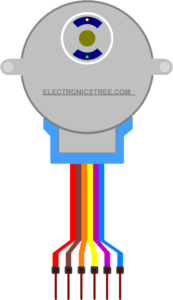
Anatomy of a Stepper Motor
Stepper motors consist of two main components—the stator and the rotor. The stator is the stationary part, housing coils of wire that generate magnetic fields. The rotor, typically a permanent magnet or toothed structure, rotates in response to the magnetic fields created by the stator.
How Stepper Motors Work
Unlike traditional motors, stepper motors move in discrete steps. The stator coils are energized in a specific sequence, creating magnetic fields that attract the rotor’s magnetic poles or teeth. By controlling the sequence and timing of these steps, precise rotational movements are achieved.
Understanding the ULN2003 Stepper Motor Driver
ULN2003 Overview
The ULN2003 is a popular Darlington transistor array that acts as a driver for small- to medium-sized stepper motors. It’s widely used for its simplicity, reliability, and ease of integration into various projects. The ULN2003 IC incorporates seven Darlington pairs, making it suitable for applications requiring high-current drive capabilities
Working Principle
The ULN2003 driver simplifies the control of stepper motors by handling the current switching for each coil. It provides a straightforward interface, allowing microcontrollers to drive stepper motors with ease. The Darlington pairs amplify the control signals, enabling the motor to move in discrete steps.
Key Features
- High-voltage and high-current Darlington transistor arrays.
- Commonly used for driving inductive loads, such as relays, solenoids, and stepper motors.
- Internal clamping diodes for inductive load protection.
- Compact and versatile for a range of applications.
Introducing the ULN2003 Stepper Motor Driver Library for Proteus
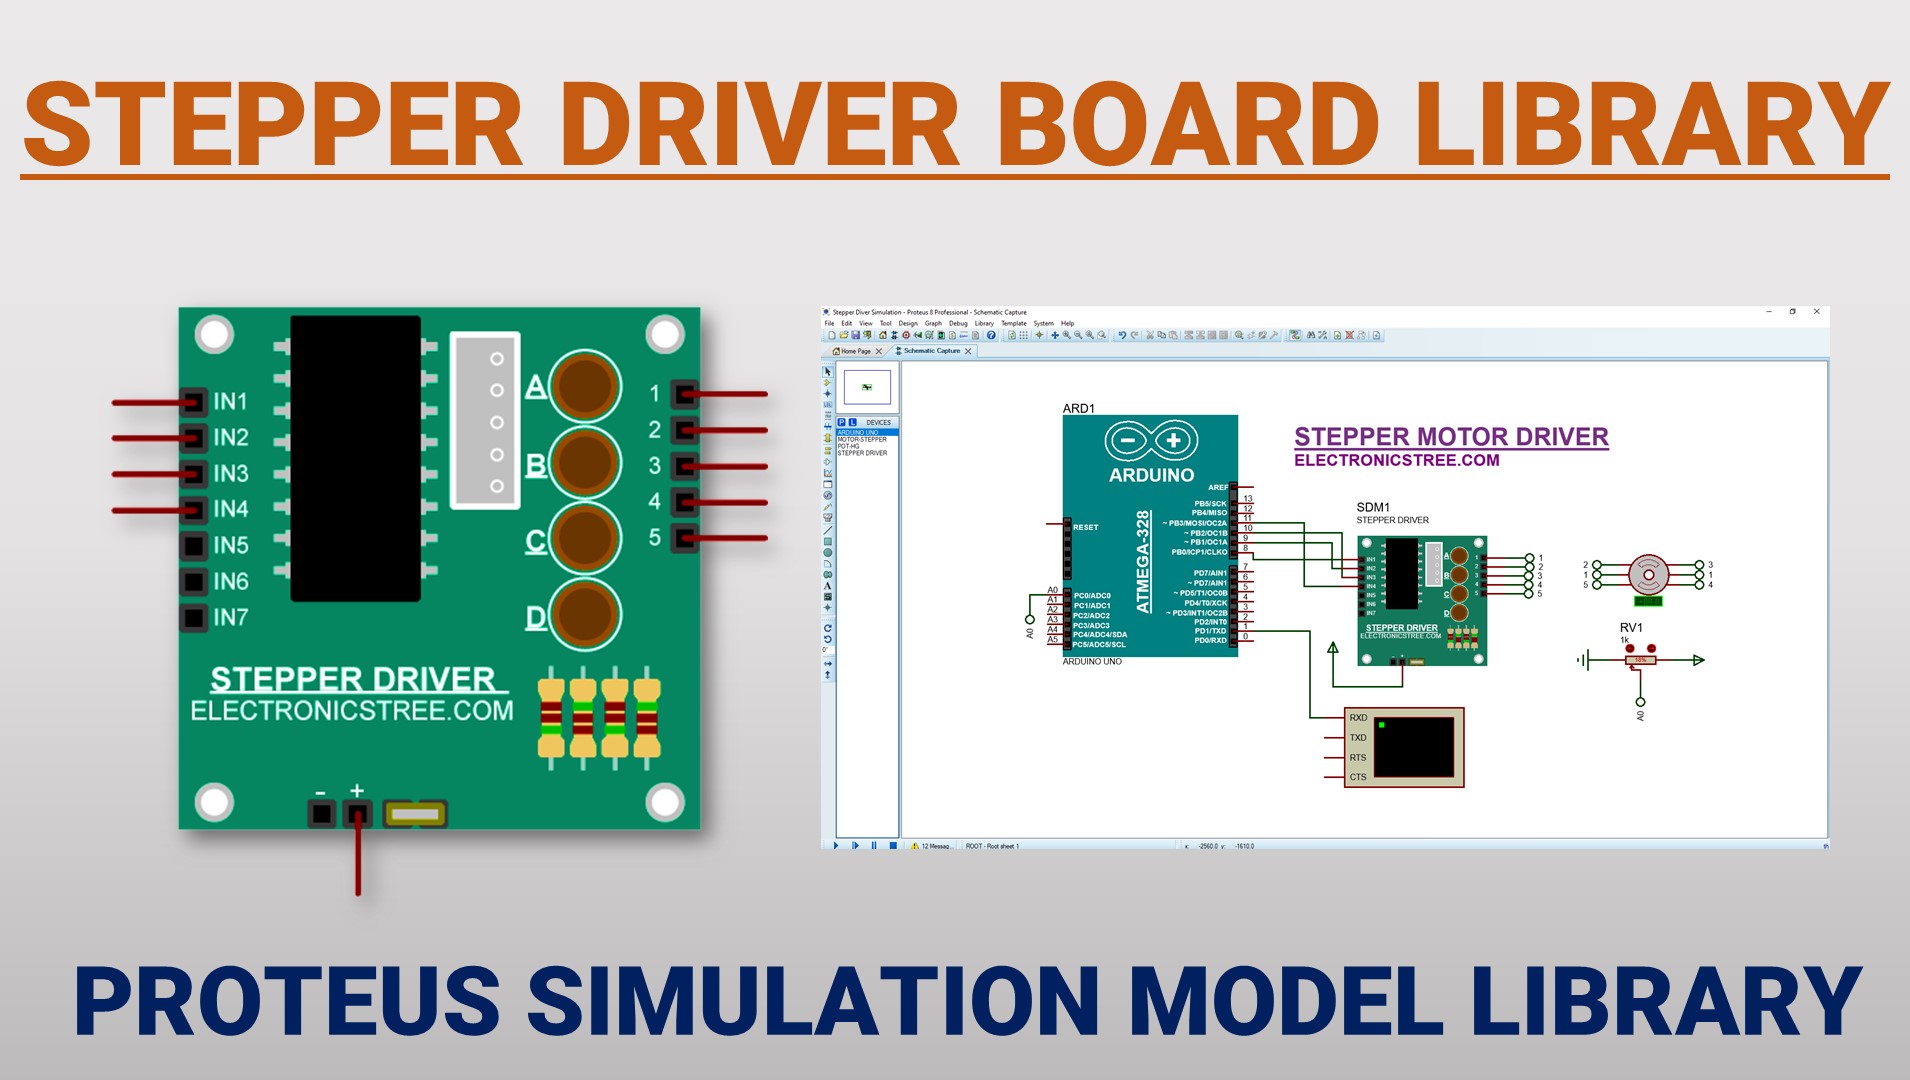
The newly developed ULN2003 Stepper Motor Driver Library for Proteus aims to bridge the gap between simulation and real-world stepper motor control using the ULN2003 IC. This library allows designers and hobbyists to accurately model and test their stepper motor control circuits in the virtual environment of Proteus.
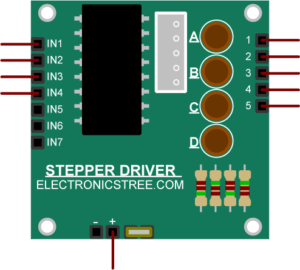
Features of the Simulation Model
- Stepper Motor Driver Library introduces four LEDs, each corresponding to one of the control input lines. These LEDs serve as visual indicators, giving you real-time feedback on the activity of the control signals.
- Accurate representation of the ULN2003 IC.
- Compatibility with common stepper motor models.
- Easy integration into existing Proteus projects.
- Simplified control interface for seamless simulation.
Proteus Simulation
Stepper Motor Control - one step at a time
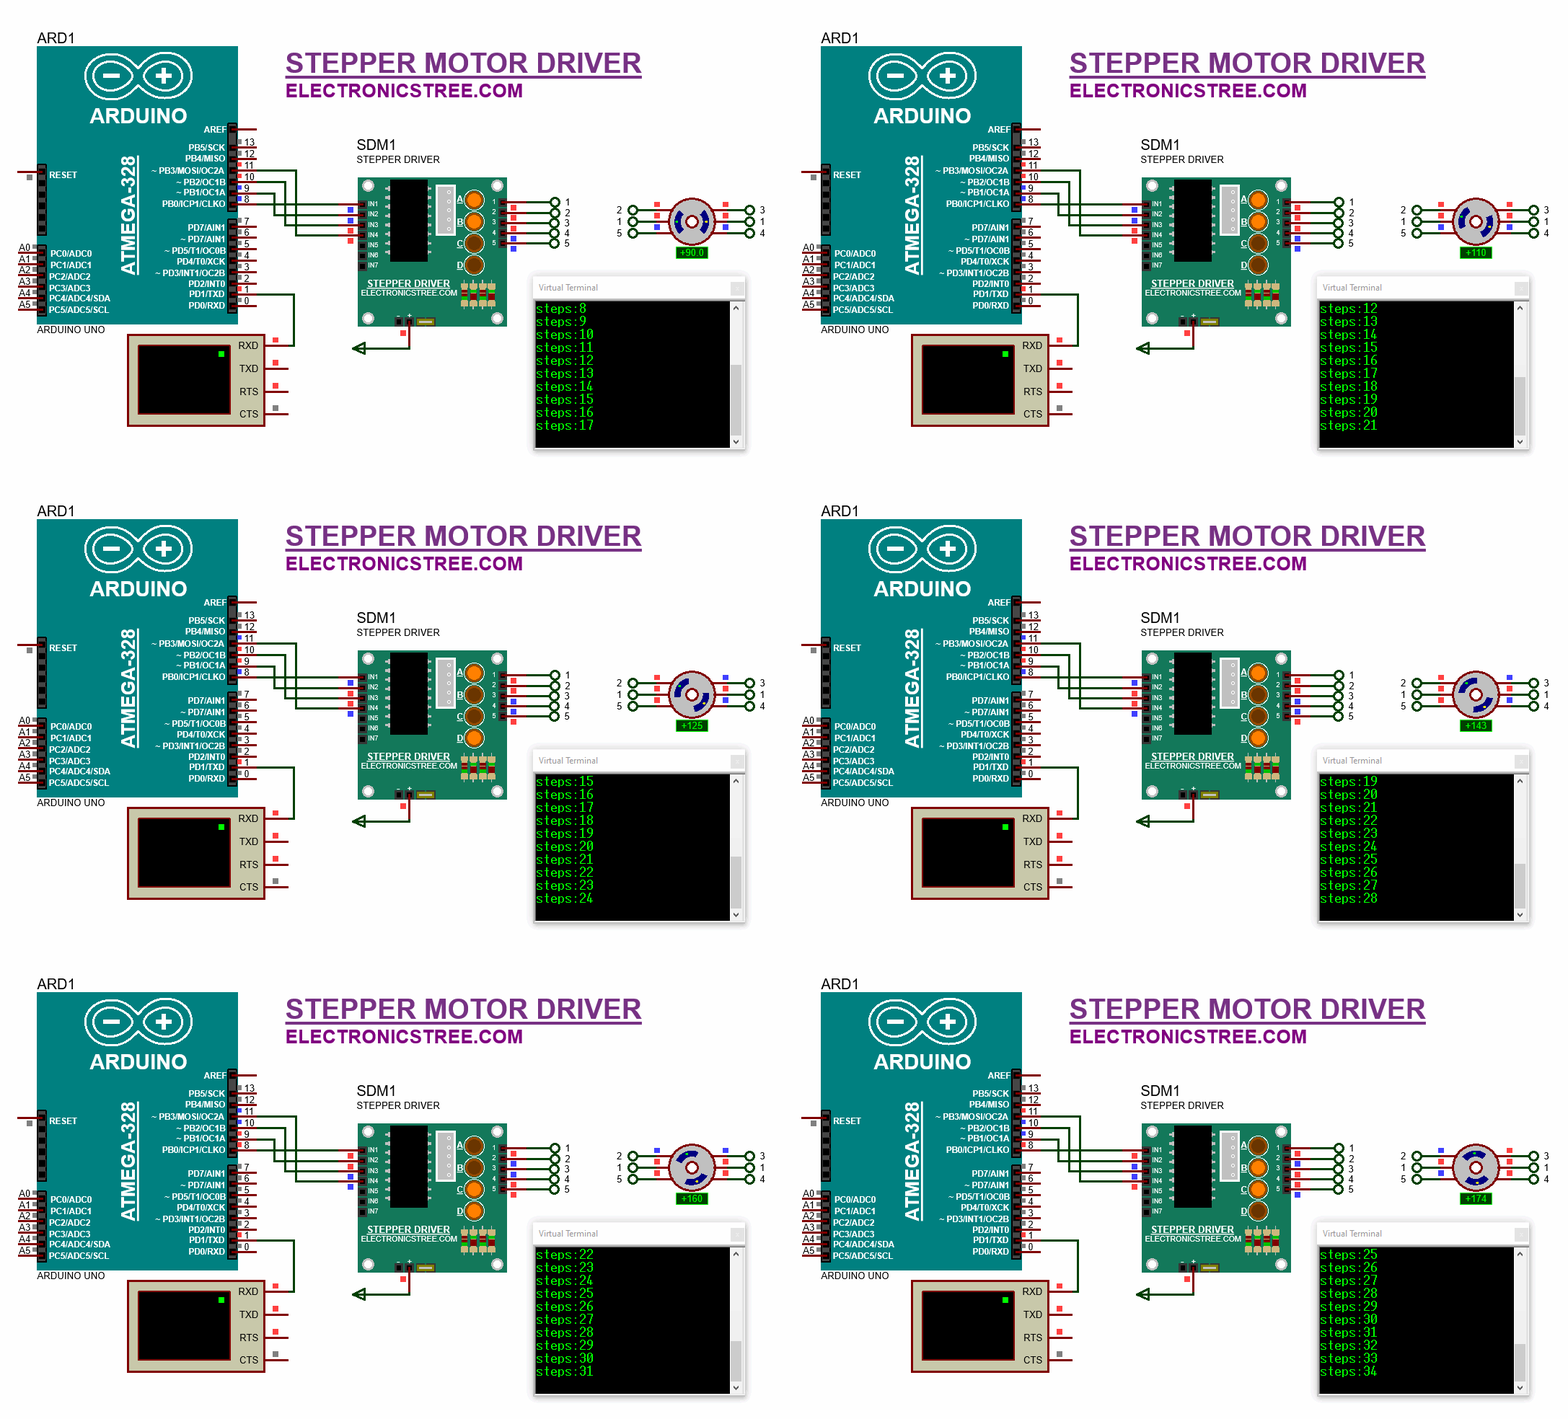
Here is an example from the Arduino Stepper library for testing the Stepper Driver Model with a stepper motor. The Arduino Stepper library is a standard library included with the Arduino IDE (Integrated Development Environment) that simplifies the control of stepper motors. The Stepper library is quite versatile and offers various methods for controlling stepper motors in different ways. You can find more details and examples in the official Arduino documentation
Here is the Simulation of Stepper Motor Driver in Proteus.
Stepper Control with Potentiometer
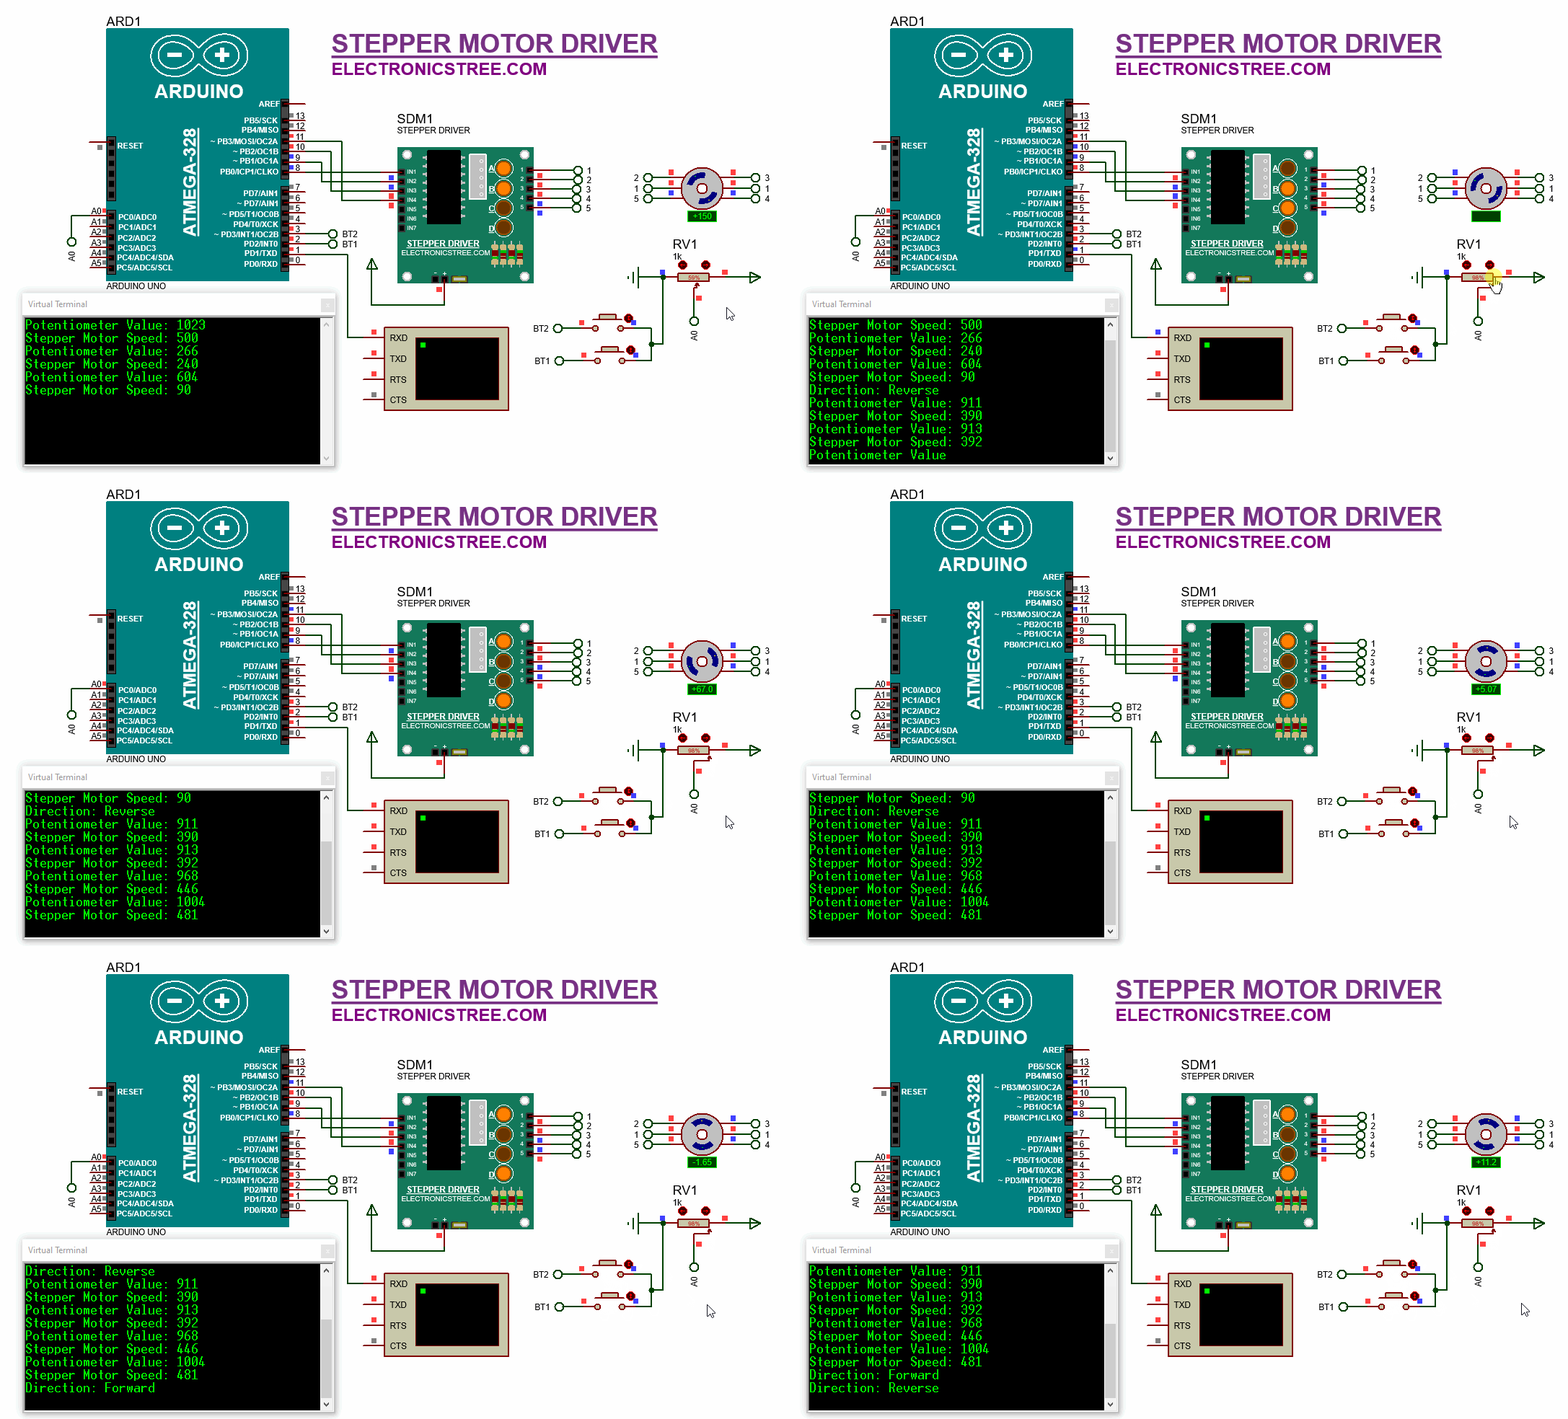
I have modified the Arduino sketch for controlling a stepper motor using a potentiometer and two buttons to change the direction.
The code initializes the stepper motor and sets up buttons for forward and Reverse directions. It continuously monitors the potentiometer value and button states in the loop, adjusting the motor speed and direction accordingly while providing real-time feedback through the serial monitor.
How to Get Started
Go ahead and download the stepper motor driver library. You’ll find the link below. Adding it to your Proteus project is super easy – just a few clicks, and you can see how it works with the rest of your circuit. Simple as that!
Extract Library Files:
- Open the .zip file containing the model library.
- Extract the contents, typically finding folders like LIB and MODELS.
Locate Proteus Library Folder:
- Identify your Proteus library folder on your computer. The default location may vary based on your Proteus software version.
- For Proteus 8 Professional, it’s often found at:
C:\Program Files (x86)\Labcenter Electronics\Proteus 8 Professional\DATA\LIBRARY
Copy LIB Files:
- Open the LIB folder extracted from the model library.
- Copy the files within the LIB folder.
- Paste these files into your Proteus Library Folder.
Locate Proteus Model Folder:
- Find the Proteus Model folder, usually located alongside the Library Folder.
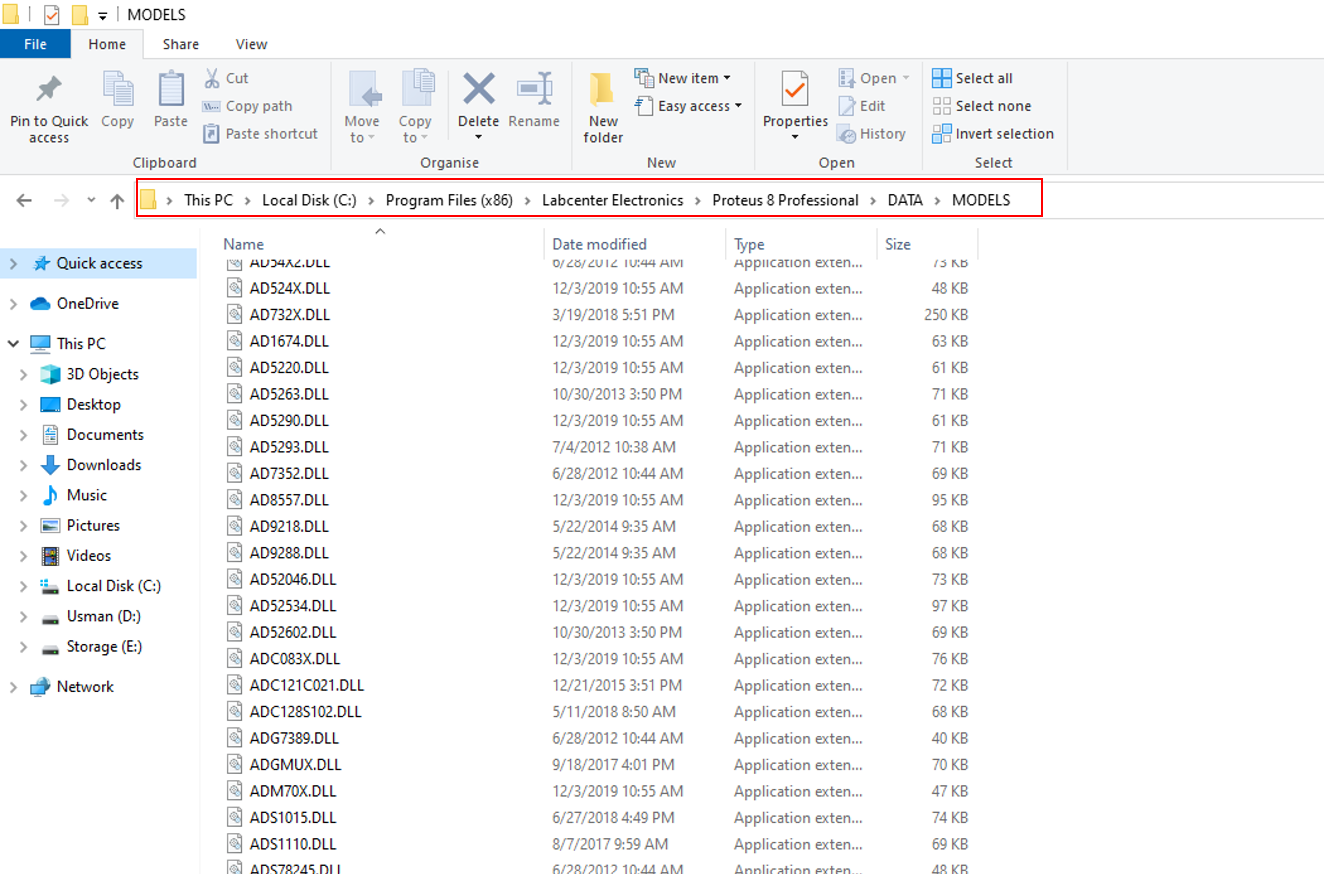
- For Proteus 8 Professional, the path might be:
C:\Program Files (x86)\Labcenter Electronics\Proteus 8 Professional\DATA\MODELS
Copy MODELS Files:
- Open the MODELS folder extracted from the model library.
- Copy the files within the MODELS folder.
- Paste these files into your Proteus Model Folder.
- For certain Proteus versions, you might locate the DATA folder in a different path, such as:
C:\ProgramData\Labcenter Electronics\Proteus 8 Professional\DATA
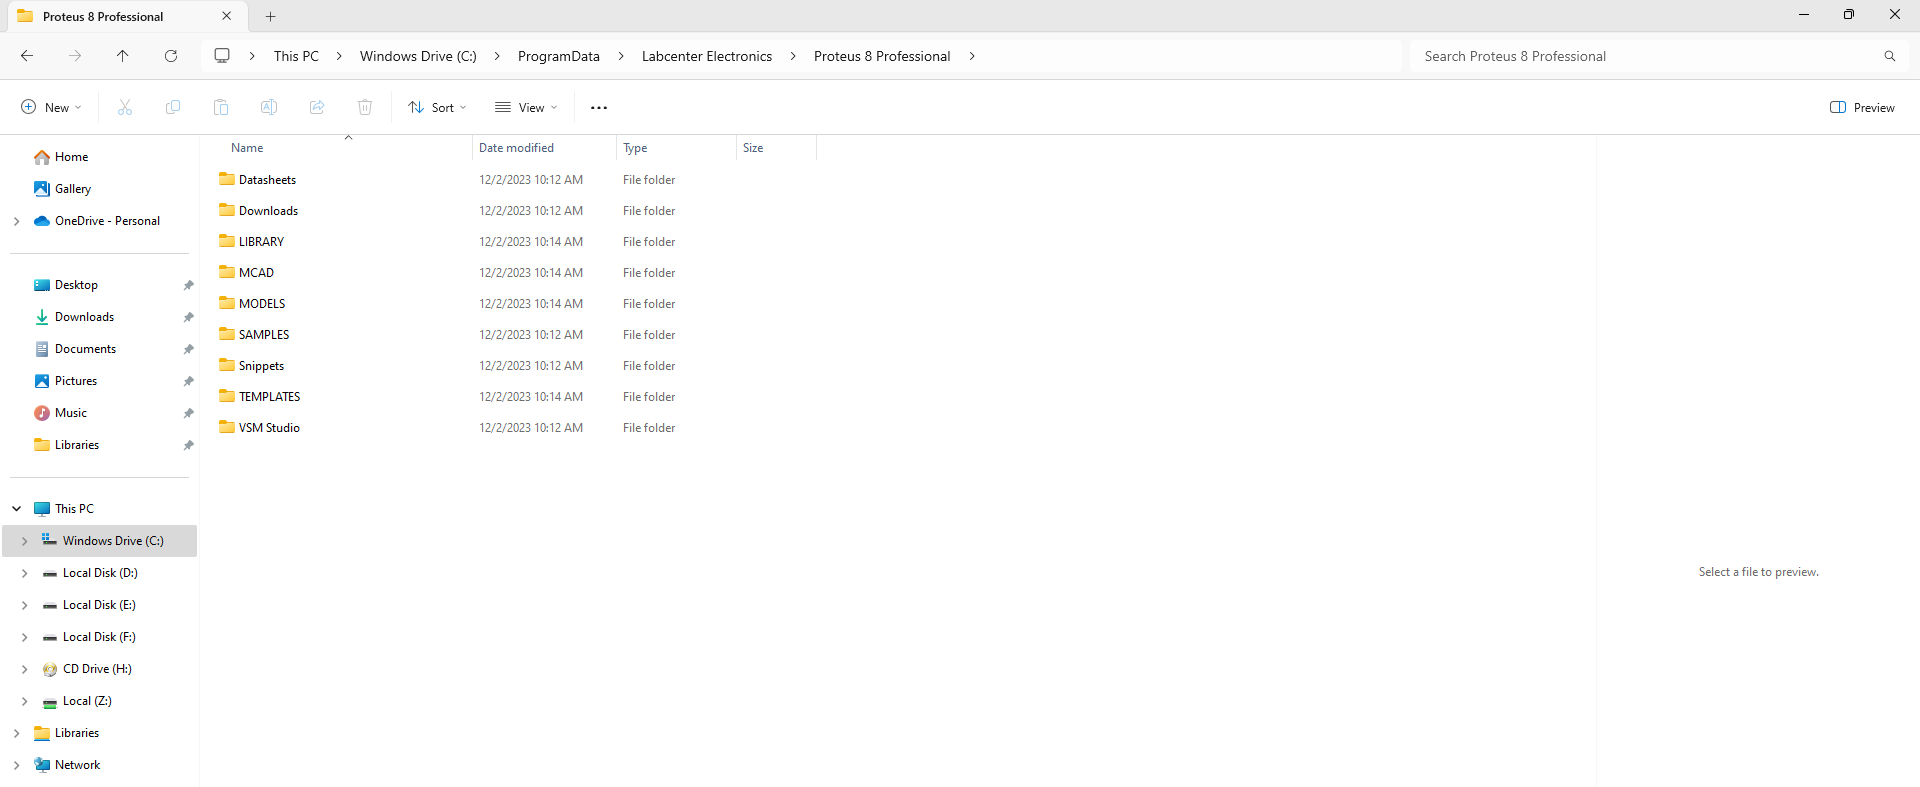
Note: The ProgramData folder could be hidden, so unhide it if needed.
Restart Proteus:
After copying the library and model files, restart Proteus to apply the changes.
Verify Installation:
- Open Proteus and navigate to the Pick Device Window.
- Confirm that the added model(s) are available for easy selection and integration into your projects.
Download Library
Simply click on the button to download the library. You can refer to this post for instructions on how to install the library in Proteus 8. How to Download and install Library in Proteus (electronicstree.com)
ZIP Password : electronicstree.com
If you have any requests for Arduino Module Libraries in Proteus, please leave a comment or message us using the contact form.

This is really the most detailed article I have ever seen. The code is also very clear. It gave me a lot of guidance and help. Thank you for sharing
Please can you do a Proteus Library for mpu6050, and Esp32 . Thank you 🙏🏼
Thank you for all the libraries created so far. I just found the website from YouTube so I am yet to try the libraries
Please can you do a Proteus Library for mpu6050, and Esp32 . Thank you 🙏🏼
Thank you so much for your kind words and support! I’m glad you found the website and are interested in trying out the libraries.
Regarding your request:
ESP32 Simulation Model
Creating a Proteus simulation model for the ESP32 is quite challenging due to its complex core architecture and internal workings. At this time, it’s not feasible to develop an accurate and functional simulation model for it in Proteus.
MPU6050 Library
The MPU6050 library is currently in development and will be included in a future release. The update has been slightly delayed due to ongoing work on its UI interface to ensure a better simulation experience. if you’re looking for acceleration detection, you can check out the newly updated ADXL345 Proteus library. It’s a great alternative for acceleration-based projects:
👉 https://electronicstree.com/new-adxl345-proteus-library/