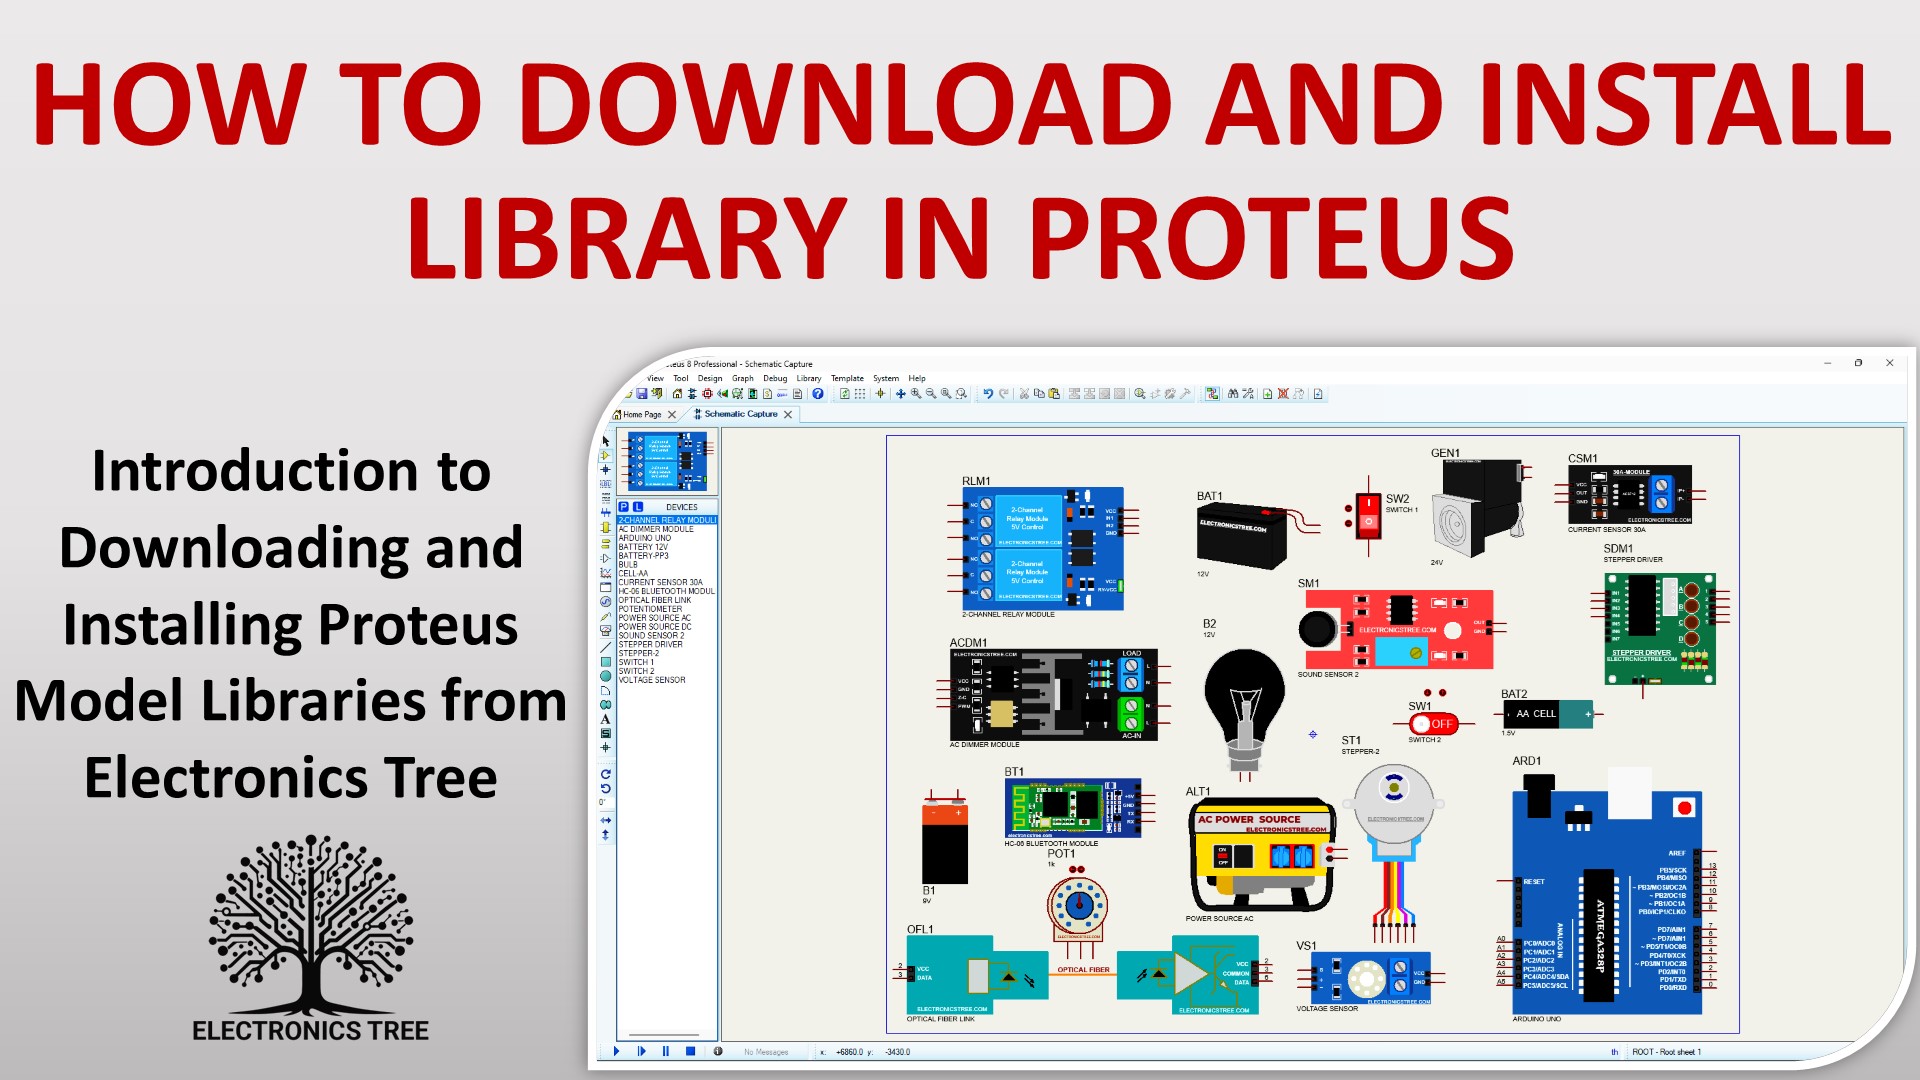
Proteus, the powerful simulation software for electronics, lets you test your circuits virtually before building them. But its potential truly shines with the wide range of libraries available. These libraries provide pre-built models for various components, saving you time and effort while adding realism to your simulations.
- Identify your Proteus library folder on your computer. The default location may vary based on your Proteus software version.
- For Proteus 8 Professional, it’s often found at:
C:\Program Files (x86)\Labcenter Electronics\Proteus 8 Professional\DATA\LIBRARY

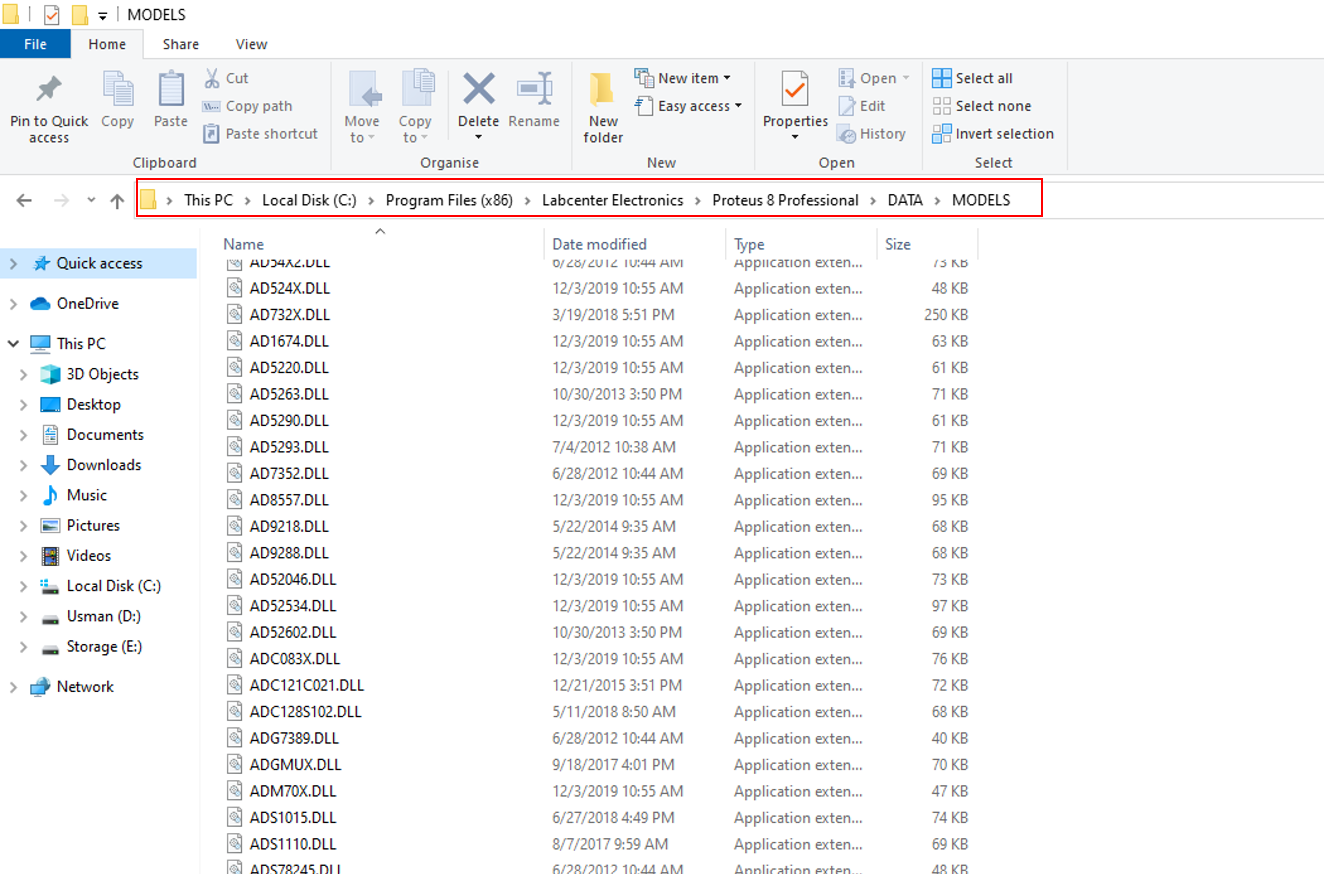
- Find the Proteus Model folder, usually located alongside the Library Folder.
- For Proteus 8 Professional, the path might be:
C:\Program Files (x86)\Labcenter Electronics\Proteus 8 Professional\DATA\MODELS
- For certain Proteus versions, you might locate the DATA folder in a different path, such as:
C:\ProgramData\Labcenter Electronics\Proteus 8 Professional\DATA
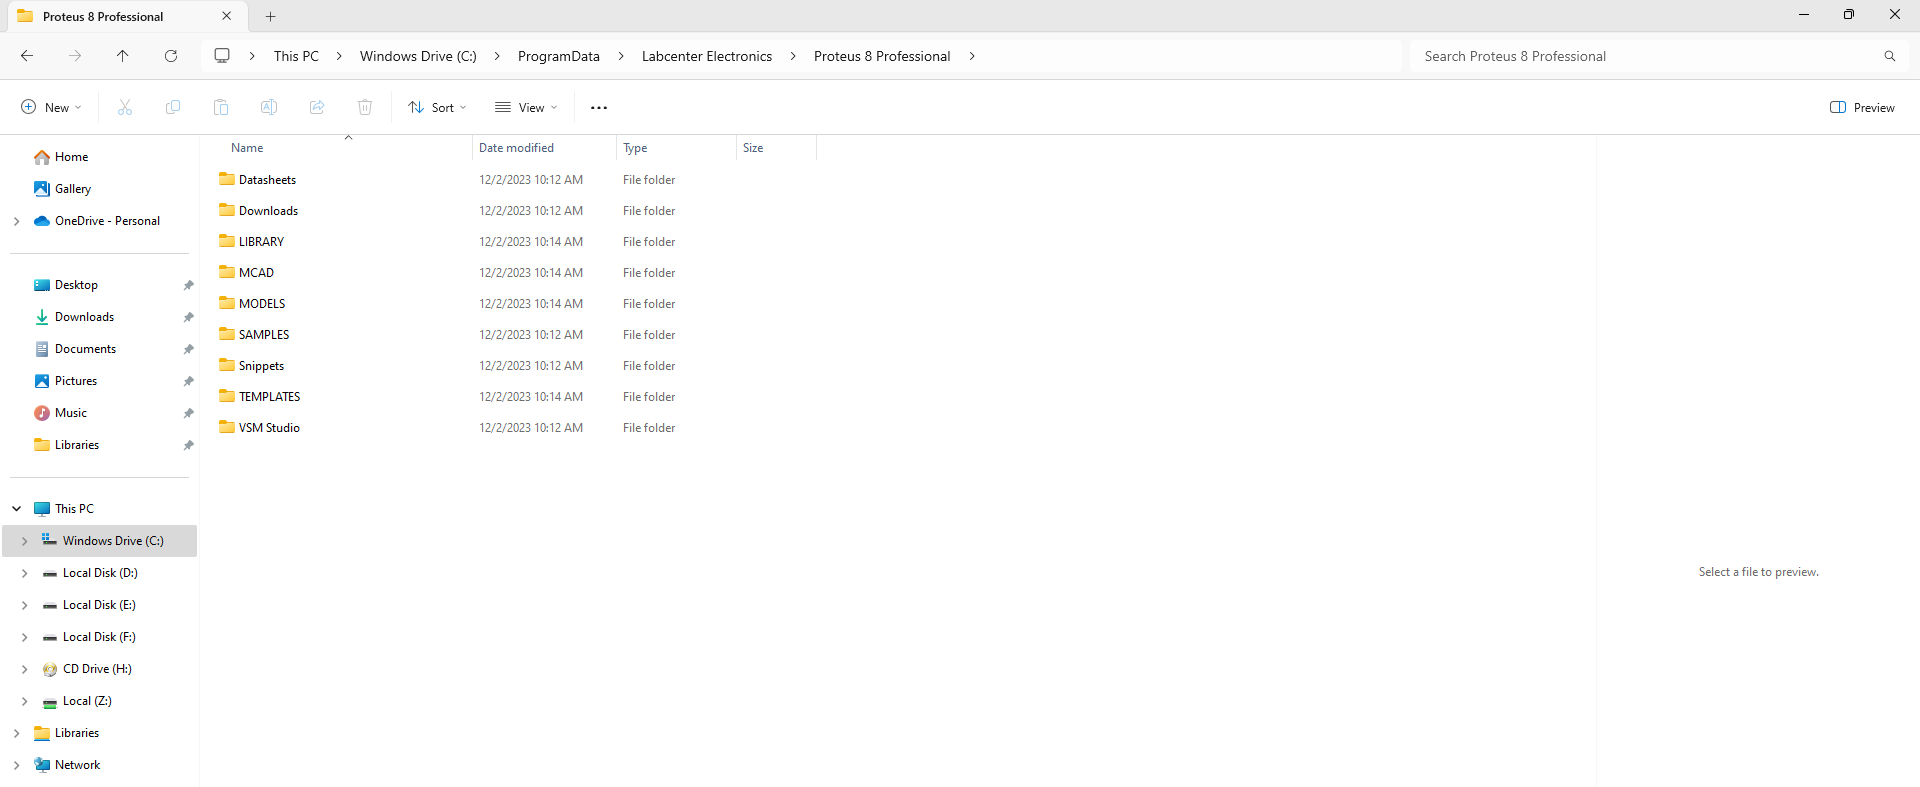
Note: The ProgramData folder could be hidden, so unhide it if needed.
le fichier zip me demande mot de passe
Le mot de passe est ‘electronics tree.com’
can u please make esp8266-01 module..
I’m working on developing some libraries, like a fingerprint sensor, esp8266, and others for Proteus simulations. While I can’t provide an exact timeline for their completion, rest assured that they are in progress.
whats the password during installation , like when extracting
he password for the library zip file is: electronicstree.com
have you know the INA169 library to download? because I don’t find one
Not the INA169, but the INA219 model
Can we find more libraries for PID CONTROLLER ?
Librery of Arduino for Proteus
what is the password to unzip the file
Good Morning 😁. Pls when i downloaded the Arduino Library there was no folder for MODELS just LIB
This is based on the AVR Model, which is provided by default in Proteus, so there is no need for the model. You only need the file, which is in the ‘lib’ folder. Copy the file from that folder and paste it into your Proteus library folder. After that, restart Proteus.👍
What is password of this file before extract
when i want extract using winrar they need password