Arduino Optical Fiber Data Transmission
In my setup for Arduino optical fiber data transmission, I’ve chosen to employ the Amplitude Shift Keying (ASK) scheme. This communication method allows two Arduinos to exchange information through an optical link. To make this work, I’m relying on the Radiohead Amplitude Shift Keying Library. This library serves as a handy tool, simplifying the implementation of ASK in my project, making the communication process between the Arduinos efficient and effective.
Arduino Optical Fiber Communication Guide:
Before diving into this, check our previous articles on Arduino Optical Fiber Data Transmission for foundational insights and a clearer understanding
- Check out PART-1: Introduction of Optical Fiber Communication
- Check out PART-2: Light and its Fundamentals
- Check out PART-3: The Science of Optical Fiber Cables
- Check out PART-4: How to Setup Arduino Fiber Transmission
- Check out PART-5: How to Transfer Arduino Data with Optical Fiber
Transmission Setup:
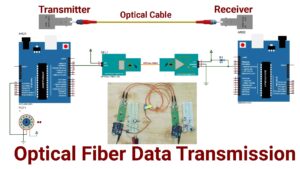
Build the transmitter and receiver circuits according to their diagrams and connect them to their respective devices. The transmitter circuit includes the following components:
– Microcontroller (Arduino)
– HFBR-1414 Optical Fiber Cable Transmitter
– SN75452B Switching Driver
– Resistors with values of 10K (1) and 56 ohms (1)
– Capacitors with values of 0.1uF (3) and 10uF (1)

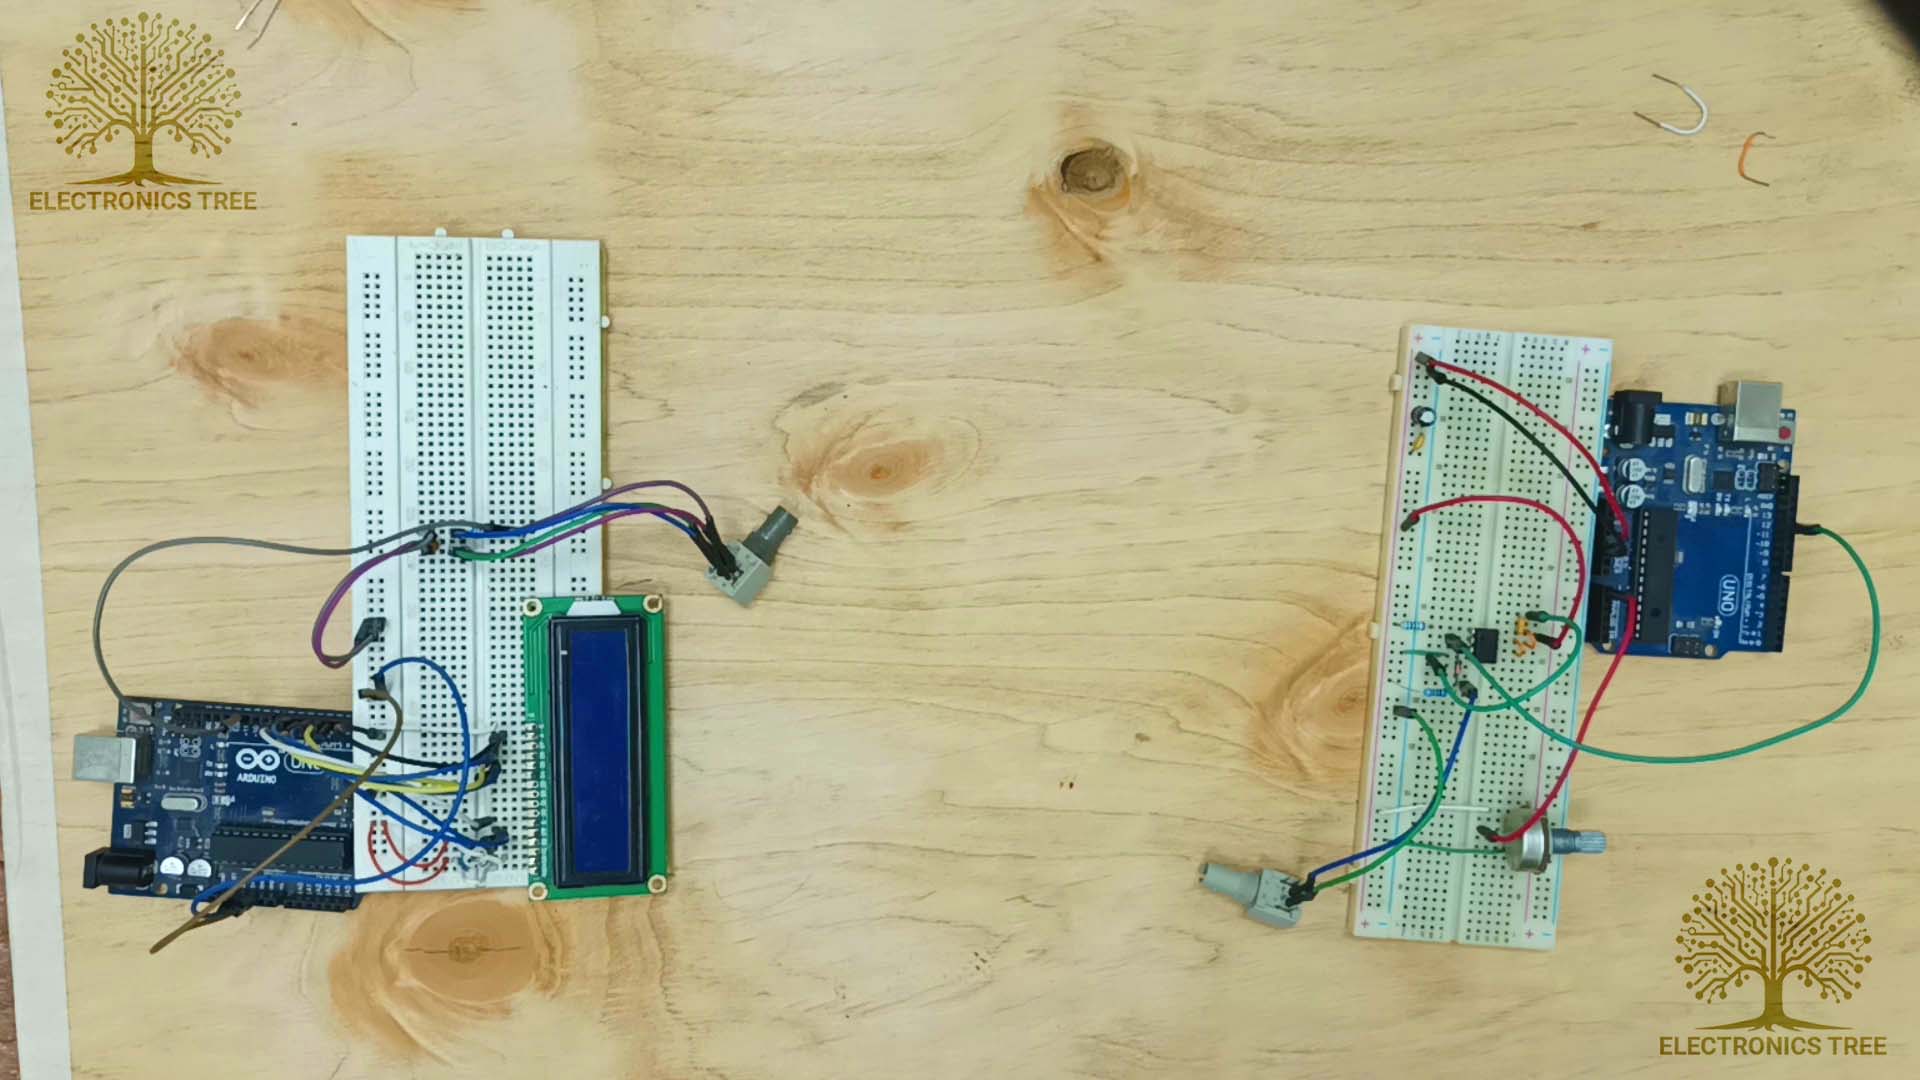
Here are the circuit connections on the breadboard.
Here is the full setup with Arduino Transmitter and Receiver Circuits. Connect the fiber cable and power up the boards.
Arduino Code
Here is the code for the Arduino transmitter and receiver using ASK modulation.
Arduino Transmitter with ASK
Arduino Receiver with ASK
Arduino Optical Fiber : Bidirectional Communication
Here is an Arduino Optical Fiber bidirectional communication example:
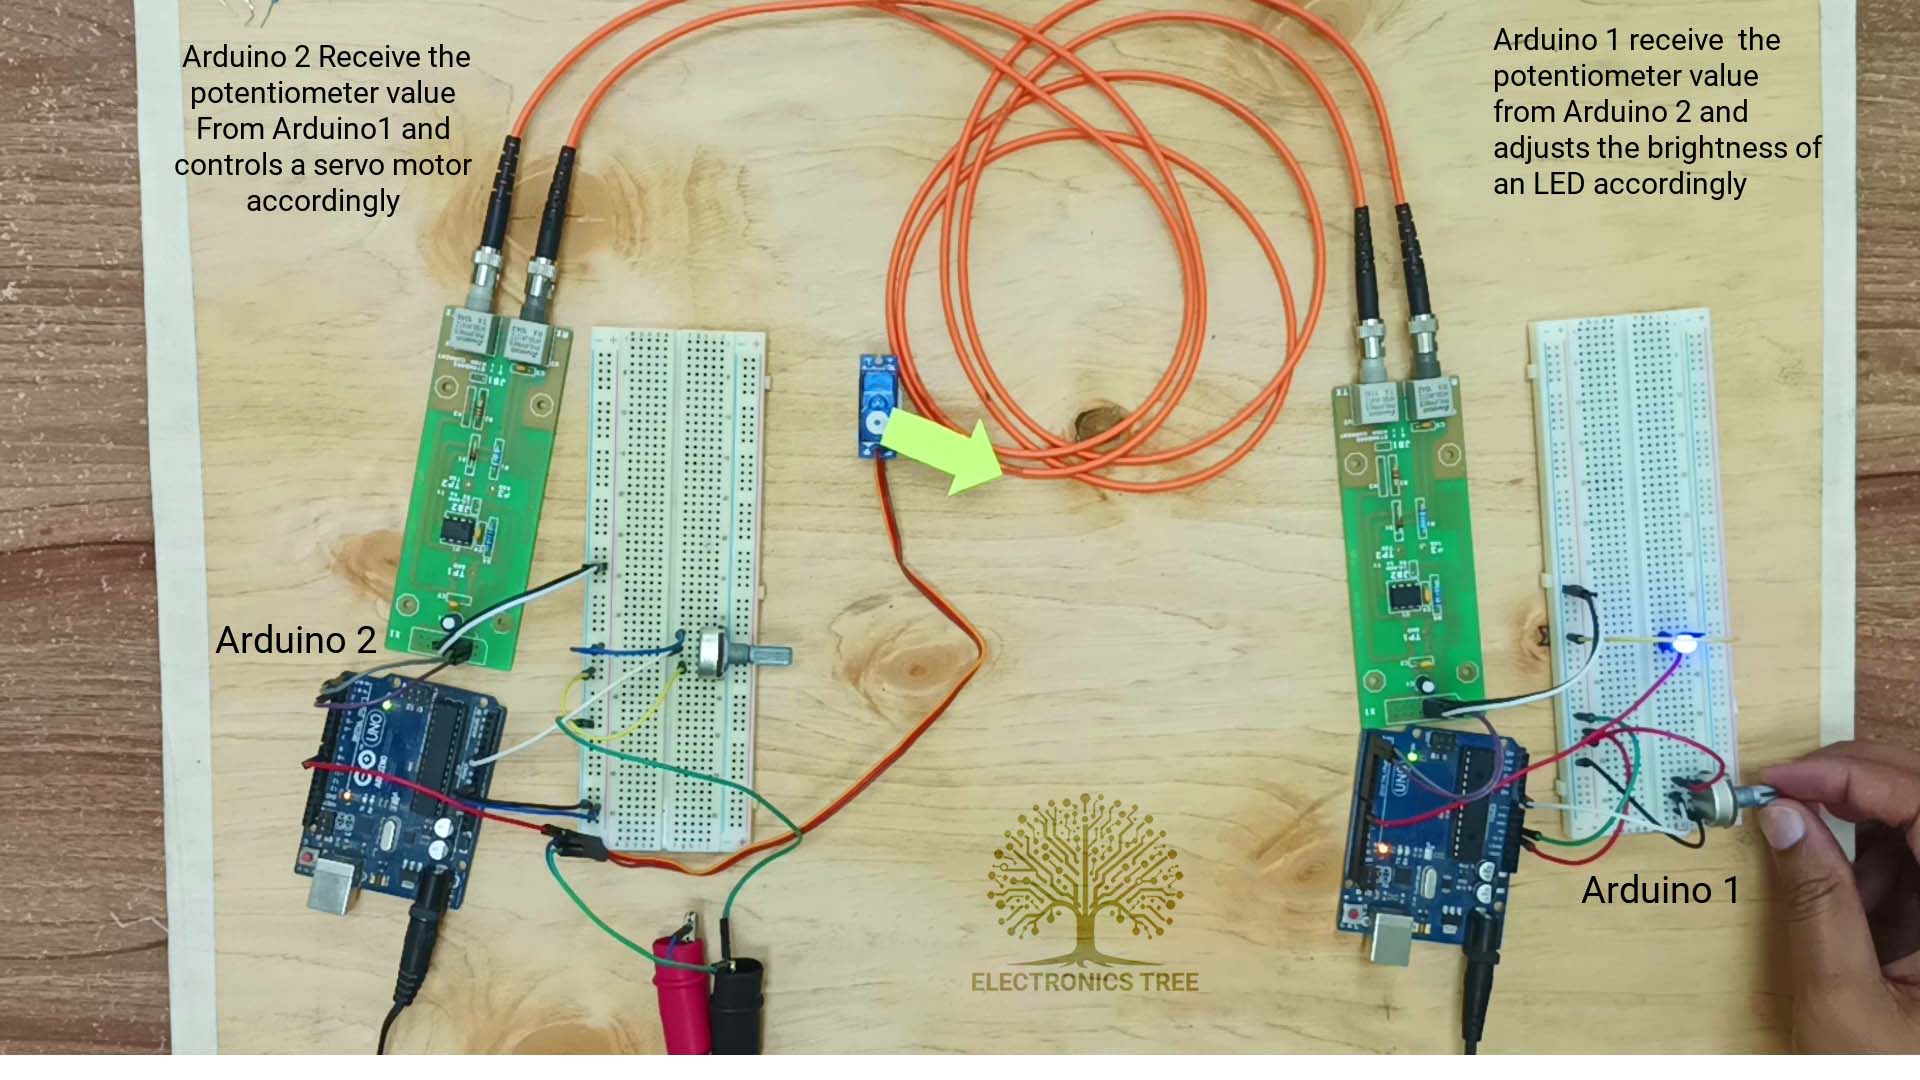
This demo shows how Arduino can send data through light cables. Two Arduinos talk to each other using UART, controlling a moving part and light intensity. I tested it and it worked well over a distance of 342 meters. I made some adjustments to the sending part, and everything still worked fine. You can get all the things you need, like the code and the models for sending and receiving, from this post. If you want to understand it better, there’s a video you can watch too. It’s like a simple chat between Arduinos using light!
Arduino Bidirectional Communication - Code
I hope you now have a good understanding of the fundamentals of data transmission using optical fiber with Arduino. If you have any suggestions or ideas for improvement, kindly share them in the comments section. Stay connected for upcoming unique Arduino projects!
Optical Fiber Link - Proteus Library
Represents a Fiber Optical Transmitter and Receiver with an optical fiber link. It is designed solely for the demonstration of TTL-compatible devices
Do you have the code for the Bidirectional Communication?
Yes, I have the code and I will share it in this post.
SYUKRON YA BROTHER USMAN, ALLAHU YARHAM, I’AM ZAENUDIN FROM INDONESIA
Marhaba, Zaenudin! It’s nice to meet you. How can I assist you?
Hi! What are the green boards responsible for using which you carry out bidirectional fiber communication between the Arduino?
I’ve merged the transmitter and receiver into one circuit, producing a transceiver board that enables bidirectional communication.
Sir,What is the detailed circuit diagram for the bidirectional communication ?
Can you share Arduino and hfbr rx side connection like hfbr tx connection
Can you share how you connecred hfbr RX side?