
ESP8266 SPIFFS
SPIFFS stands for SPI Flash File System. It’s a system that lets you use part of the ESP8266’s built-in flash memory as storage for files. Think of it as a small storage area where you can save:
- Configuration settings (like Wi-Fi credentials).
- Web pages (HTML, CSS, and JavaScript files).
- Logs or data files that you want to keep even after the ESP8266 restarts.
With SPIFFS, you can upload files to your ESP8266, read them in your code, and even modify or delete them when needed.
ESP8266 Sketch Data Upload Tool
The ESP8266 Sketch Data Upload Tool is used to send files from your computer to SPIFFS on the ESP8266. It is specifically designed for the older 1.x series of the Arduino IDE. It does not natively support the 2.x series, as the architecture for IDE 2.x has changed. Arduino IDE 2.x has a completely different backend built on Electron. It doesn’t support the old plugin system, so tools like the Sketch Data Upload Tool will not work out of the box.
If you want to use the Sketch Data Upload Tool for ESP8266 SPIFFS Uploads, you must use the Arduino IDE 1.x series.
ESP8266 SPIFFS Uploads with Arduino IDE 2.x
Arduino IDE 2.x is still relatively new, and the developers are working to add support for various functionalities. I found the Arduino SPIFFS Uploader for Arduino IDE 2.x on GitHub. You can download this extension from there.
The SPIFFS uploader is compatible with Arduino IDE 2.2.1 or higher. It is designed for use with the Raspberry Pi Pico RP2040 Arduino core (arduino-pico), the community ESP8266 Arduino core, and the community ESP32 Arduino core.
Installation
- Browse the link above, and you will be directed to the release page where you will find the file
arduino-spiffs-upload-1.1.5.vsix.
- Click on it to download, and then place it in your Arduino IDE plugin folder, which can be found here:
C:\Program Files\Arduino IDE\resources\app\plugins
- After that, restart the Arduino IDE.

Using This Uploader Extension
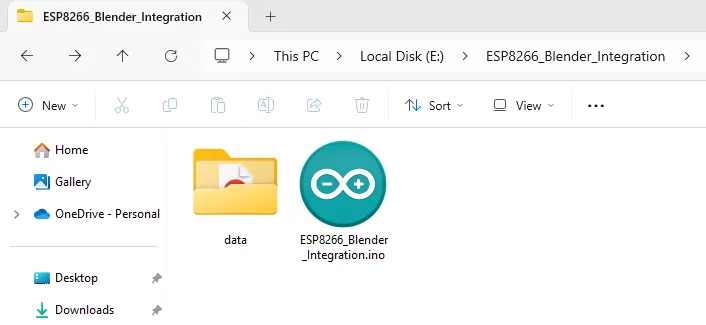
- Create a folder named
data/in your ESP8266 Arduino sketch folder (same folder as your.inofile). - Place HTML file inside the
data/folder.
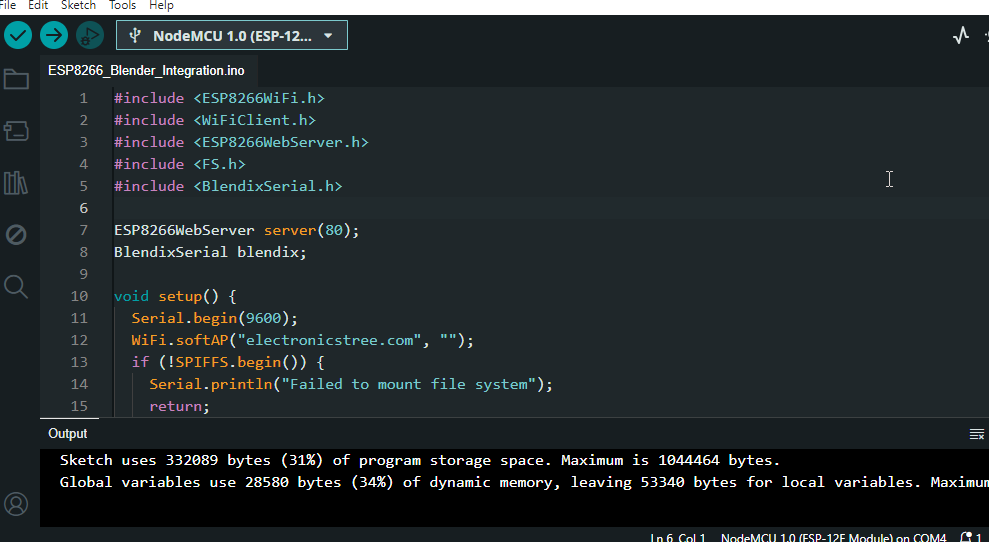
Open the Arduino IDE.
Select the correct ESP8266 board and COM port under Tools > Board and Tools > Port.
Then, compile the sketch once (do not upload it, just compile it for the first time).
After that, press [Ctrl] + [Shift] + [P] on your keyboard to open the Arduino Command Palette. Type Upload SPIFFS to Pico/ESP8266/ESP32 and select it. As you type, the command will appear, and after selecting it, this will upload all the files from your data/ folder to the ESP8266’s file system (SPIFFS).
After uploading the folder/Web files, you can upload the Arduino sketch (the .ino file) to the ESP8266 as usual.
- Click on the Upload button in the Arduino IDE to upload the ESP8266 code.
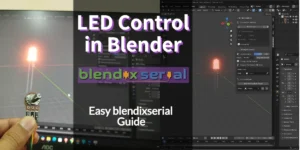
This tutorial is part of my upcoming demonstration on how to create an ESP8266 web interface for controlling Blender 3D objects.
Important: Close the serial monitor view before uploading files.
(Translated by google)