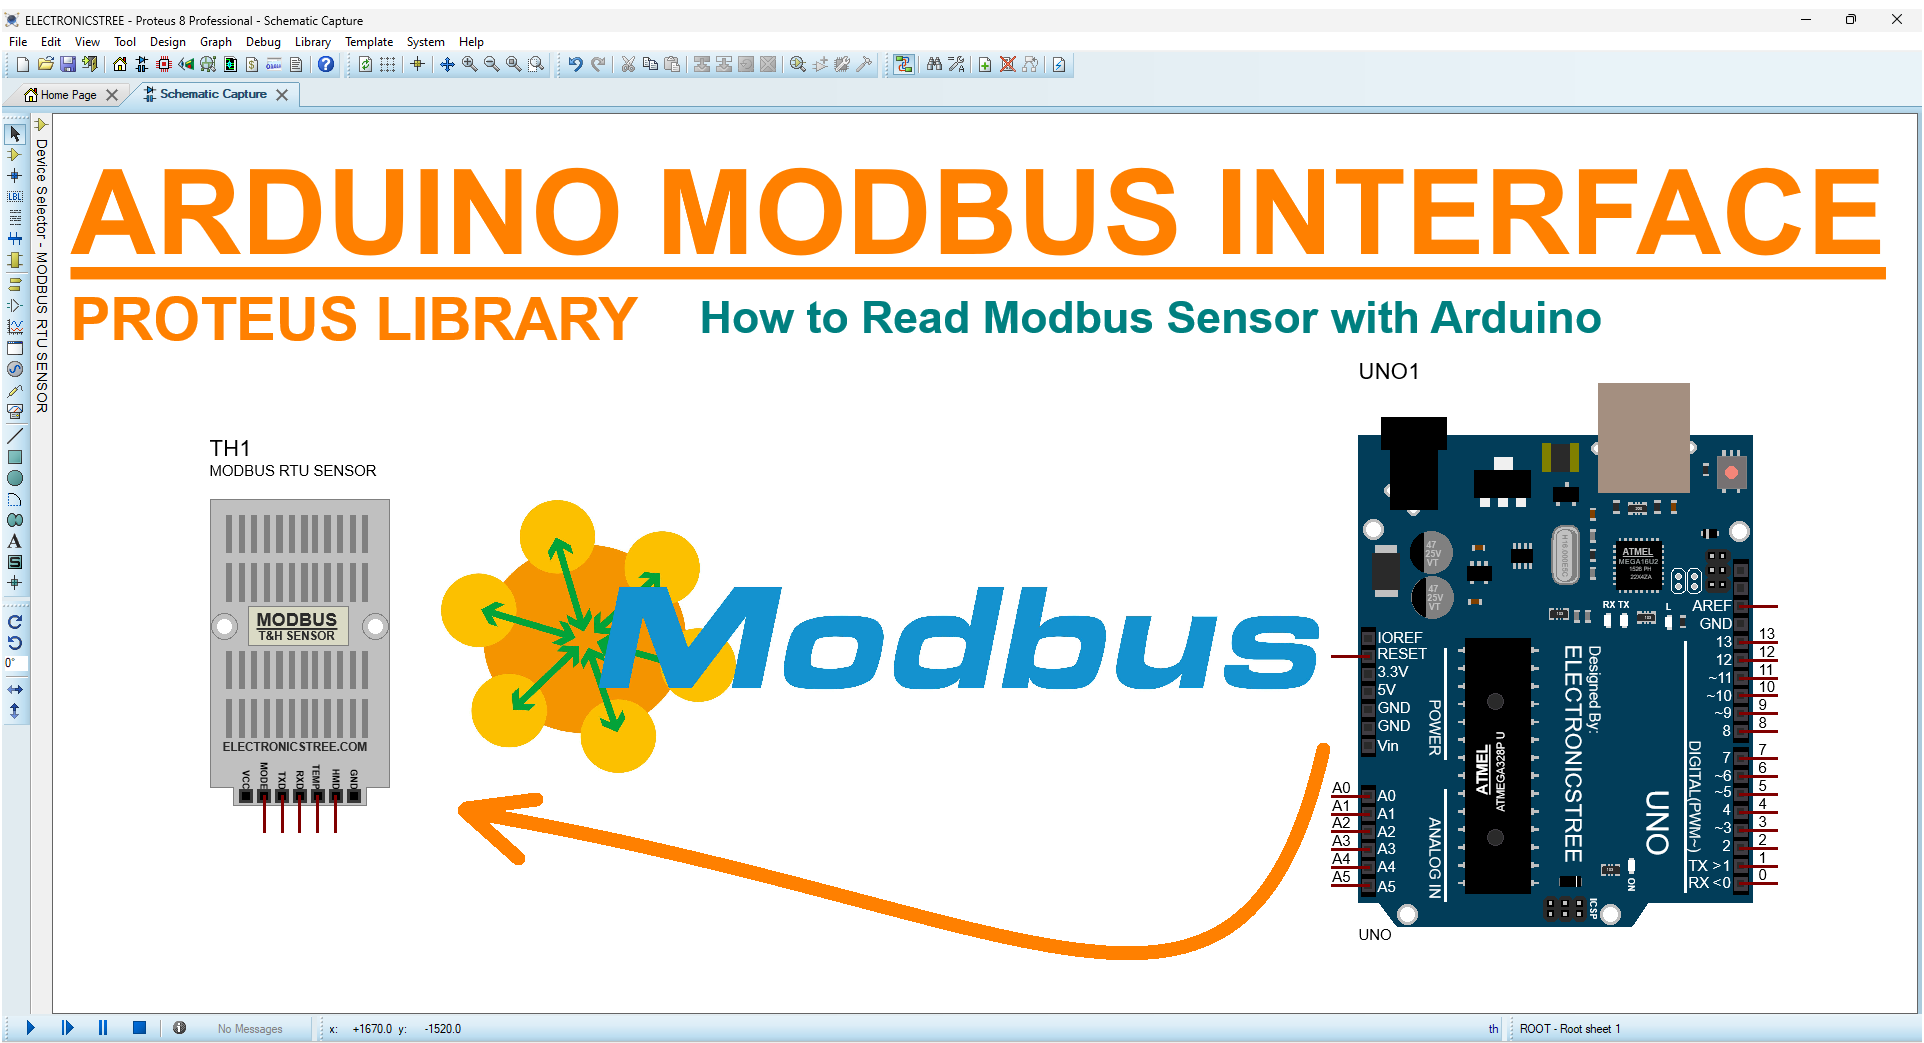
In this post, we will discuss Arduino Modbus, specifically how to connect a Modbus slave device with Arduino. Our Arduino will act as a Modbus master device, and we will demonstrate this in Proteus. If you are new to Modbus, you can read this article to understand what Modbus is in the easiest way possible.
What Is The Modbus Protocol And How Does It Work? An Easy Explanation For Beginners
Modbus RTU devices typically use an RS-485 interface for communication. This interface allows for bidirectional communication using differential signaling, which is well-suited for industrial environments due to its robustness against noise and long-distance capabilities. RS-485 uses two wires for communication: one for transmitting data (TX) and one for receiving data (RX). Additionally, RS-485 supports multi-drop configurations, allowing multiple devices to communicate on the same bus using unique addresses.
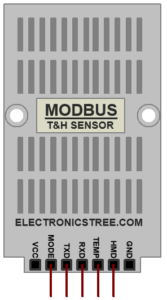
In my case i have a Modbus model that is based on the UART interface, so you can communicate Modbus RTU over UART with another UART device (such as Arduino or other microcontrollers) without using additional physical layers like RS-485 or RS-232. However, the drawback is that you can only use this model for point-to-point communication and can’t achieve the multidrop configuration like RS-485.
You can download this Modbus model from the given link, and we will use it with Arduino.
Free Modbus RTU Sensor Library: Simulate Temperature & Humidity In Proteus 8
Arduino Modbus Master Library
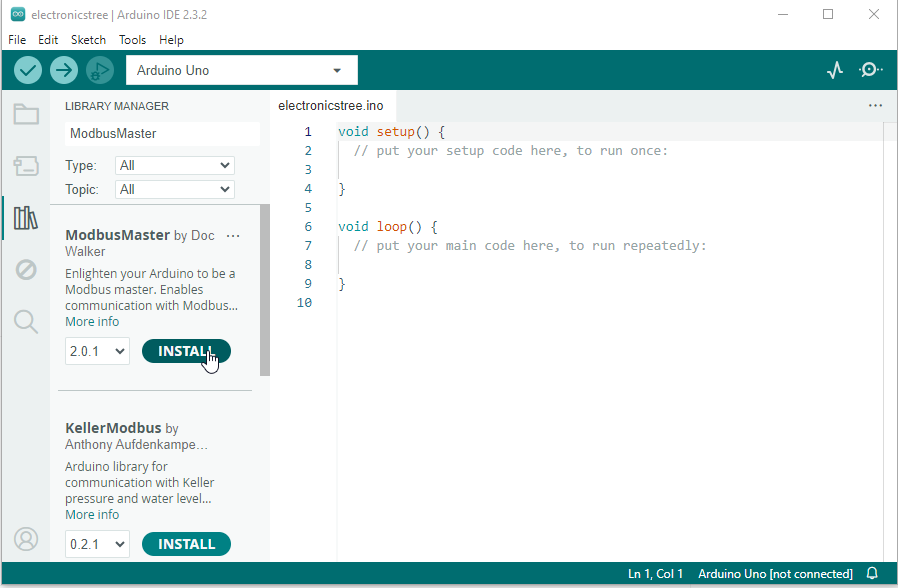
ModbusMaster is an Arduino library for communicating with Modbus slaves over RS232/485 (via RTU protocol). To utilize the ModbusMaster library, you have two options. Firstly, you can download it directly from GitHub. Secondly, you can access it through the Arduino library manager by searching for the ‘ModbusMaster’ library and installing it from there.
Here is the Arduino Modbus code utilizing the Modbus Master to read the temperature and humidity values from the sensor.
Proteus Simulation
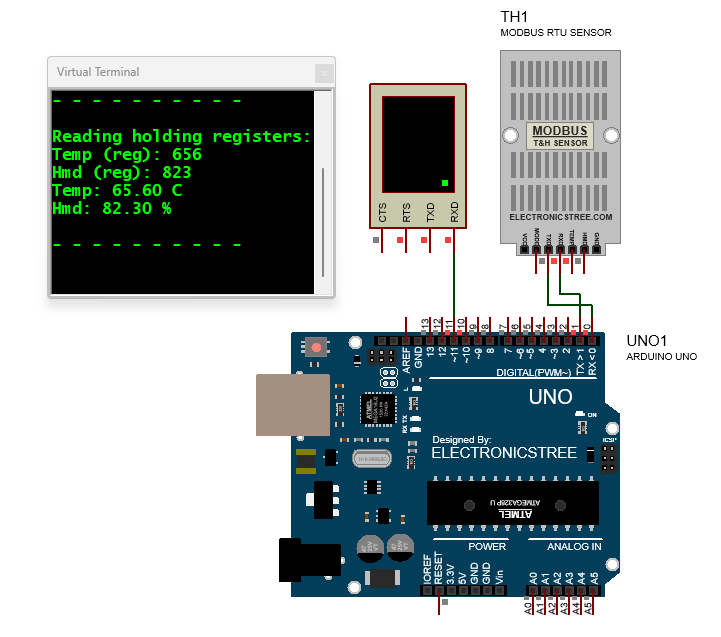
Here is the Proteus Simulation of the Arduino Modbus.
Operational Modes:
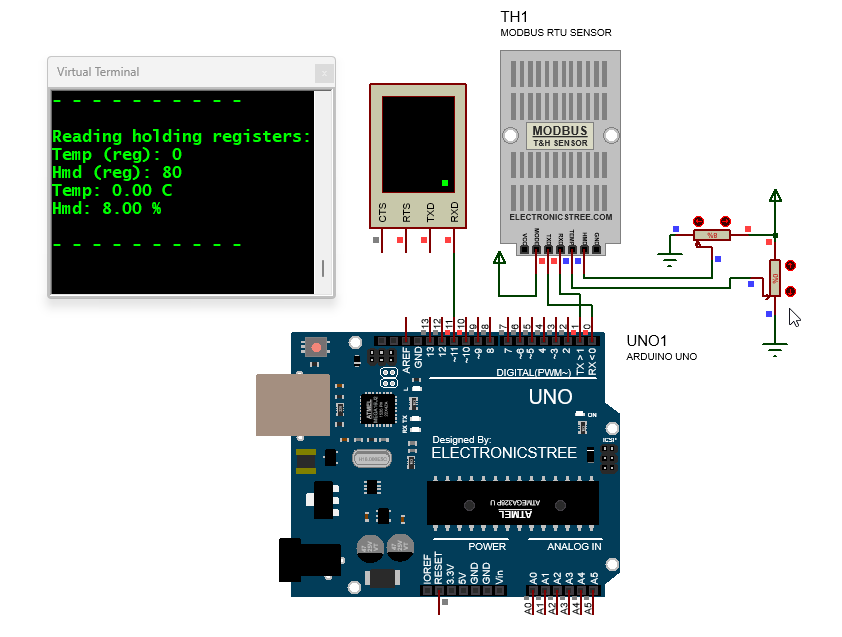
- Auto Mode: Increments temperature and Humidity value automatically based on a predefined increment.
- Manual Mode: Reads analog values (TEMP and HMD) to set temperature and Humidity.
Connect Proteus Modbus RTU Sensor with actual Arduino Hardware
You can hook up your Arduino hardware board to this Proteus RTU sensor using the PC COM port physical interface model, or COMPIM for short. Connect the sensor’s RX and TX pins to the COMPIM’s RX and TX pins. Then, in the COMPIM properties, choose the COM port where your Arduino is connected and adjust the baud rate accordingly. With this setup, you’ll be able to retrieve sensor data using your Arduino and display it on an LCD. Keep in mind that during testing, you might encounter timing issues, leading to occasional momentary disruptions while reading the data.

In the next post, I’ll show you how to connect a Modbus sensor to an Arduino board using the RS485 interface. The cool part? We won’t be using any Modbus libraries. Instead, we’ll learn how to read data straight from the sensor. This way, you’ll get a better understanding of how Modbus communication works.
If you’re looking for specific Arduino Module Libraries to be added to Proteus, we’re here to listen! Just drop a comment below or shoot us a message through the contact form. Your input helps us improve Proteus, and we’re eager to hear your ideas. Let’s work together to make Proteus even more awesome!

Thanks for this solution sincerly